Posts tagged kala rath presets
How To Edit Your Photos Bright and Airy in Lightroom Classic CC
howtoedityourphotosbrightandairy

Bright and Airy is a sought after style in images but not always something easy to achieve. Here is a tutorial and a video to show you how I edit my photos step by step to make them look bright and airy.

So what are the secretes to getting a bright and airy photo?

  • the most obvious one - lots of natural light

  • a neutral colored or white background in your image

  • proper white balance

  • editing techniques

Since this post is specifically about editing, we will do another blog post soon about the other steps but today we will just cover the Lightroom Classic process.

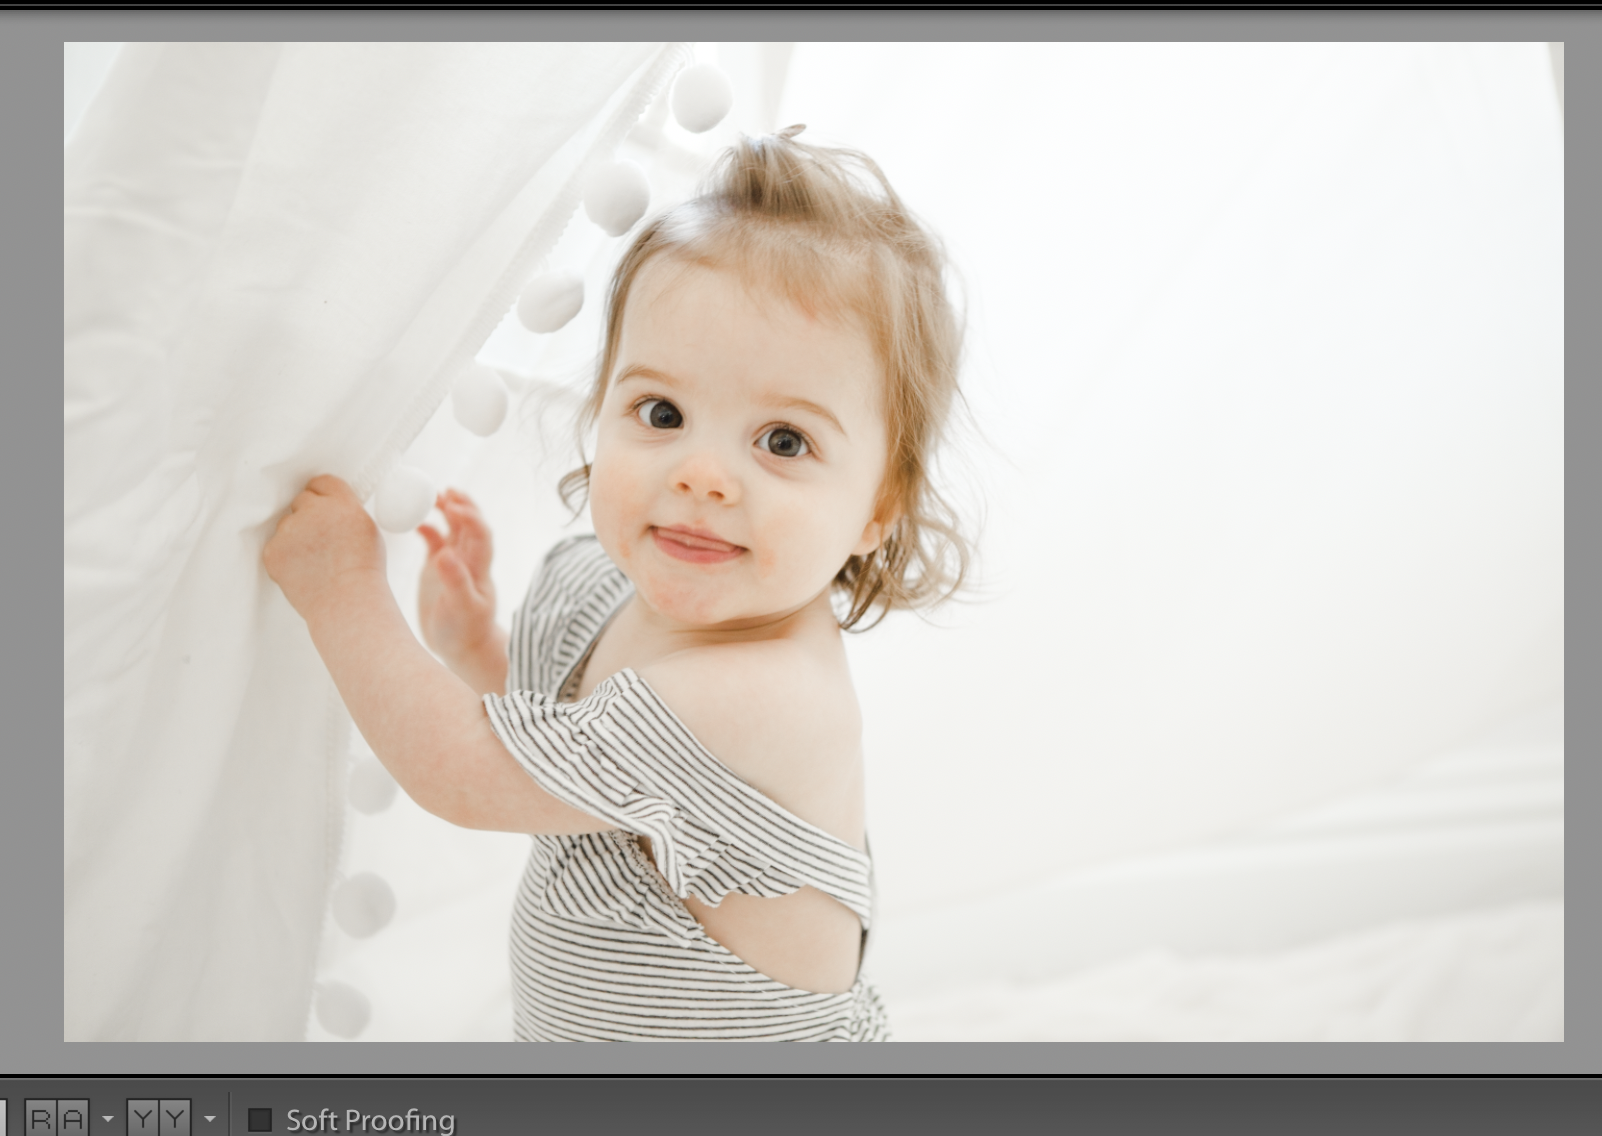
I started out with my raw images looking like this

beforekalarath

My next step was applying my “Bright and Airy” preset. (Link: https://rathphotoresources.com/bright-and-airy-lightroom-preset/ )

Screen Shot 2019-05-23 at 3.37.40 PM.png

Next, I bumped up the exposure a little bit more, added a bit of magenta, and adjusted her skin tones in the HSL panel by sliding the “Orange” sliders for saturation and luminance until I felt they looked right.

kalarathbrightandairy

I then used the graduated filter tool in Lightroom to add in some extra light. I also used the adjustment brush to paint in a little more brightness into her eyes.

kalarathbrightandairyediting

My last and final step was to use the clone/healing tool in Lightroom to heal her chapped face.

Screen Shot 2019-05-23 at 3.46.28 PM.png

Watch the full process here:


Installing your Mobile Presets into Lightroom Mobile CC

Installing your Mobile Presets into Lightroom Mobile CC

  1. Download the free Lightroom CC application on your phone.

  2. Check your email account you used during the checkout process. You will receive an email with the subject line, “Your Kala Rath Presets Order Confirmation (#order number)” . If you do not receive this in your inbox after your purchase, try using the search function within your email to find the presets

  3. Click the blue text that says “Download Files” . These should be DNG files for the mobile app. If you see .lrtemplate or .xmp these file formats are for the desktop/laptop editing software.

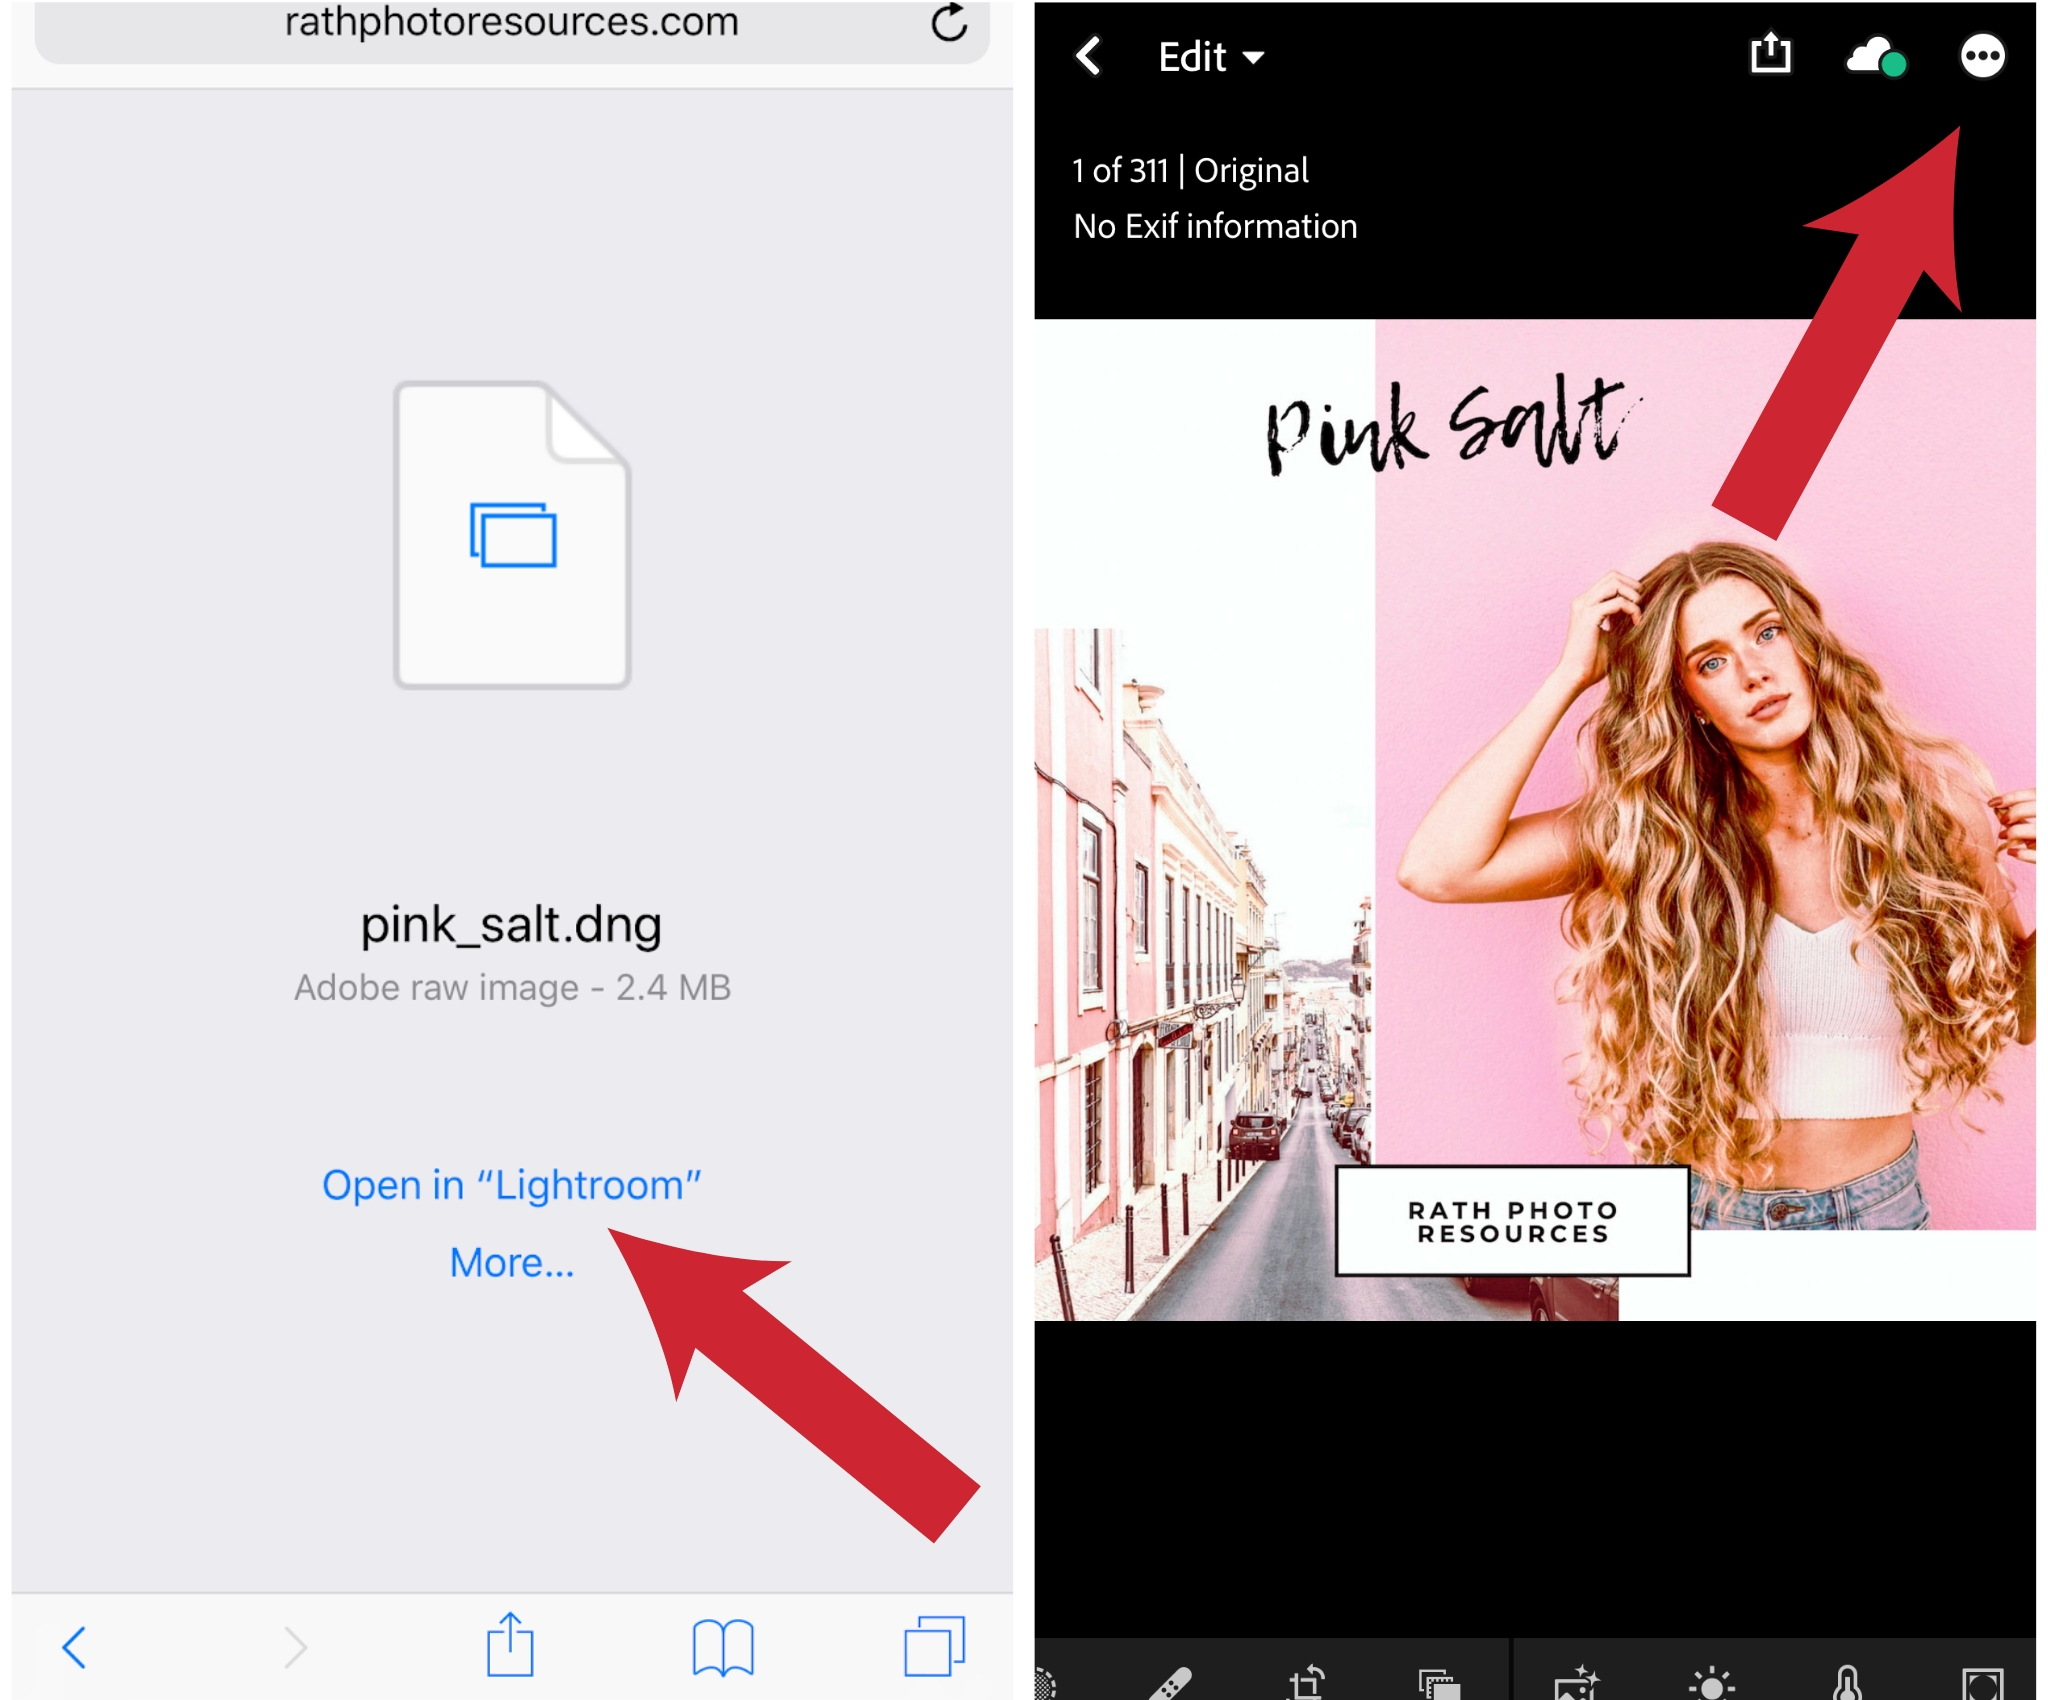
  4. Click “Open in Lightroom” - If you do not see this option, select the box with an arrow coming out if it to open in Lightroom.

  5. You will then see a photo. In the top right hand corner there is a circle with three dots. Click that and then select “Create Preset” , type the name of the Preset, then save by clicking the arrow in the top right.

  6. To edit photos with the preset, select the photo you want to edit, select “Presets” at the bottom and make sure “User Presets" is selected and it will be saved there for unlimited use.


Here is a step by step guide with photographs:

  • Check your email account you used during the checkout process. You will receive an email with the subject line, “Your Kala Rath Presets Order Confirmation (#order number)” . If you do not receive this in your inbox after your purchase, try using the search function within your email to find the presets

  • Click the blue text that says “Download Files”

Copy of Untitled Design.jpg

Click “Open in Lightroom” - If you do not see this option, select the box with an arrow coming out if it to open in Lightroom.

Copy of Untitled Design (1).jpg


You will then see a photo. In the top right hand corner there is a circle with three dots. Click that and then select “Create Preset” , type the name of the Preset, then save by clicking the arrow in the top right.

kalarathpresets

To edit photos with the preset, select the photo you want to edit, select “Presets” at the bottom and make sure “User Presets" is selected and it will be saved there for unlimited use.

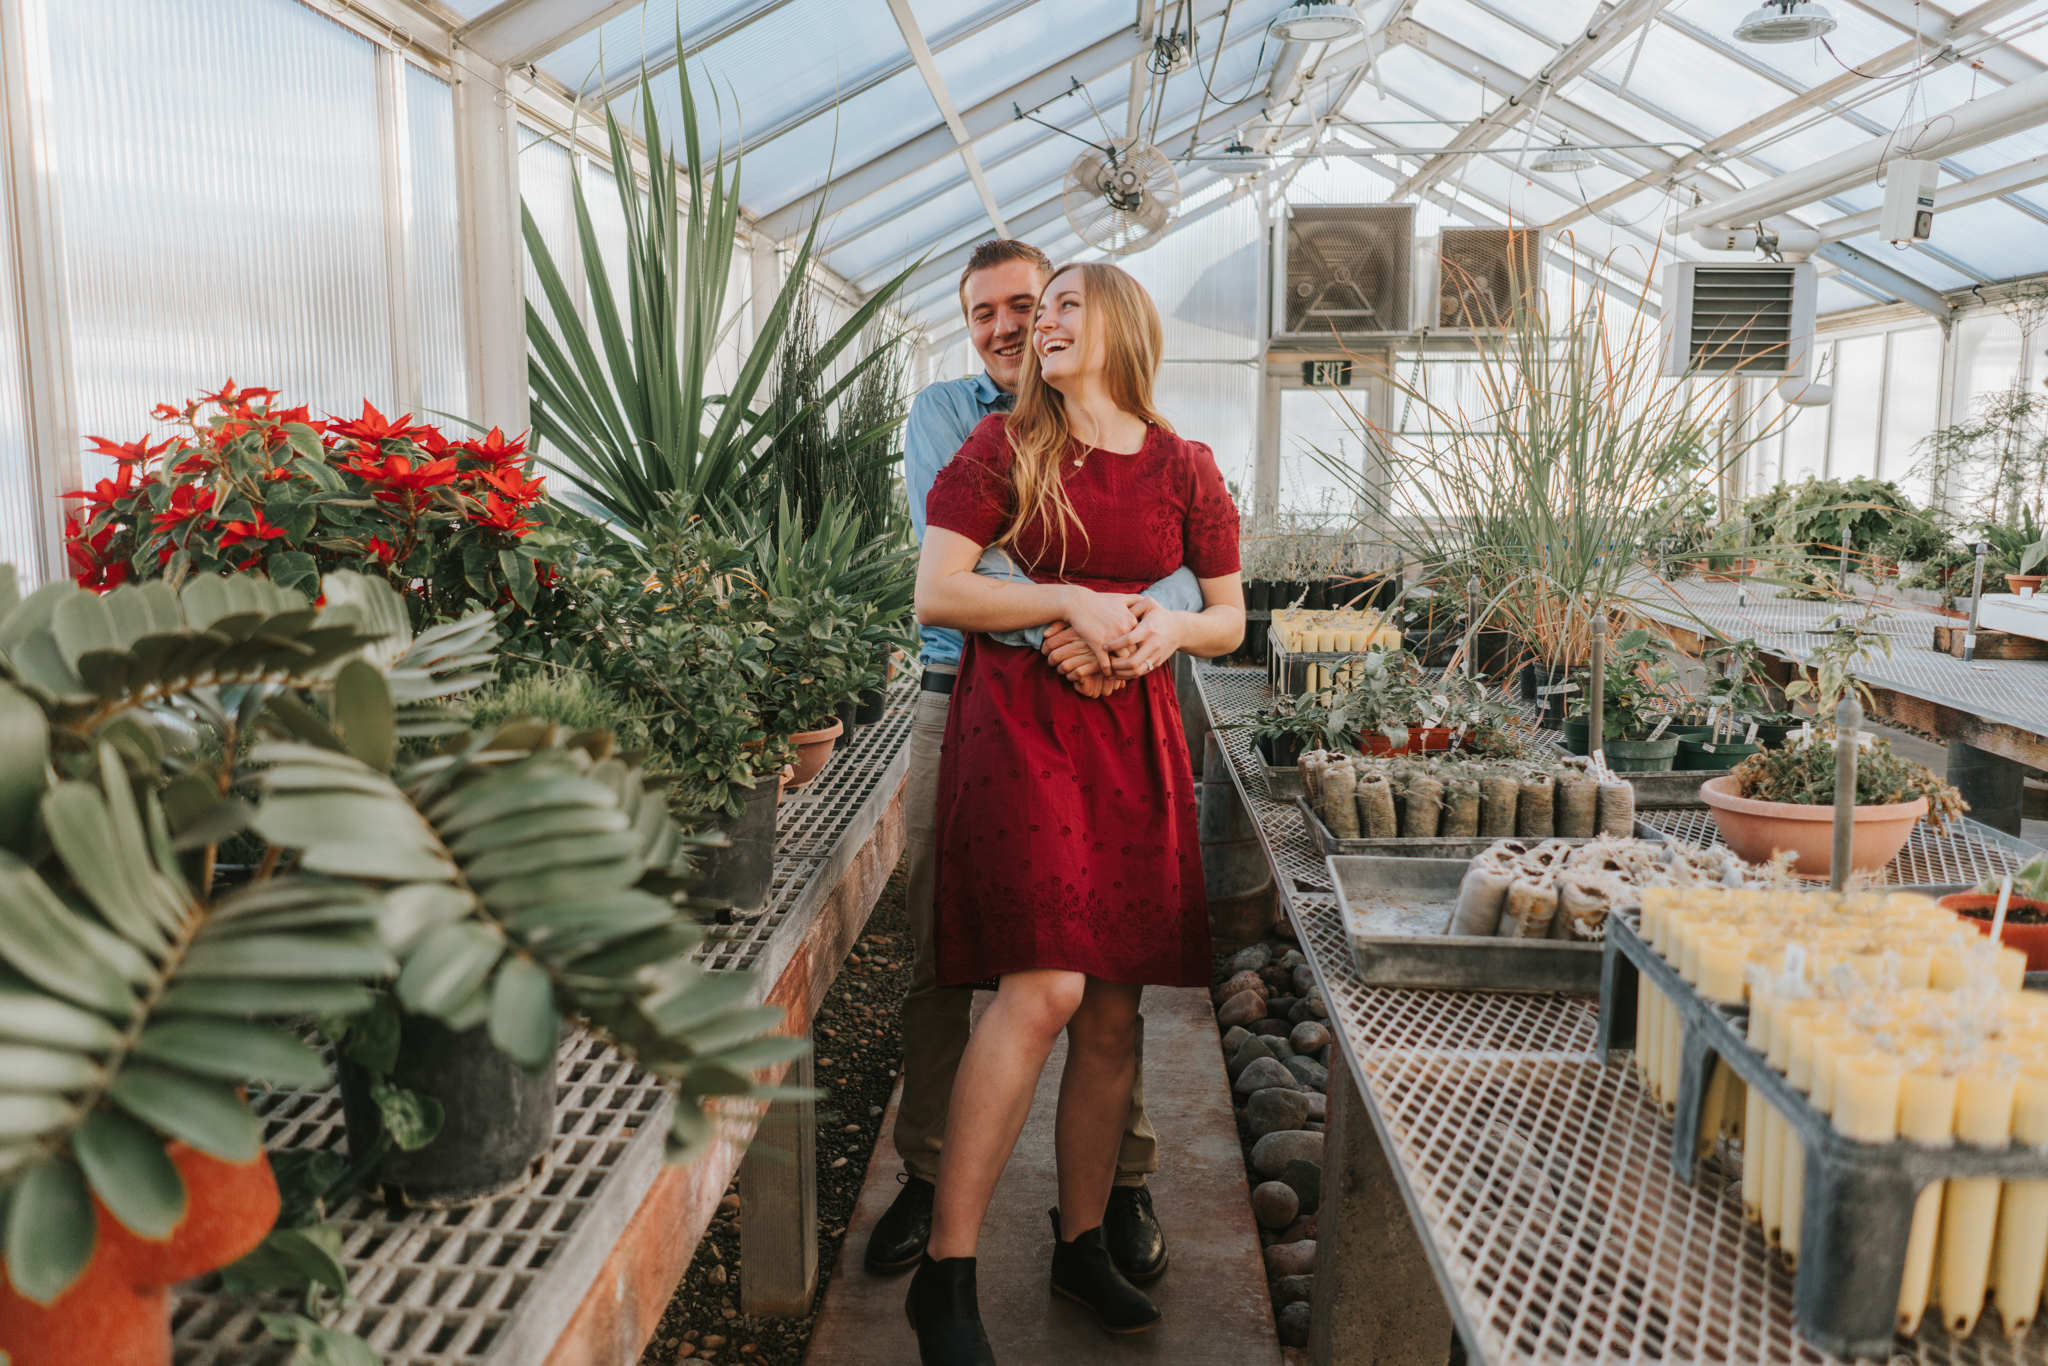
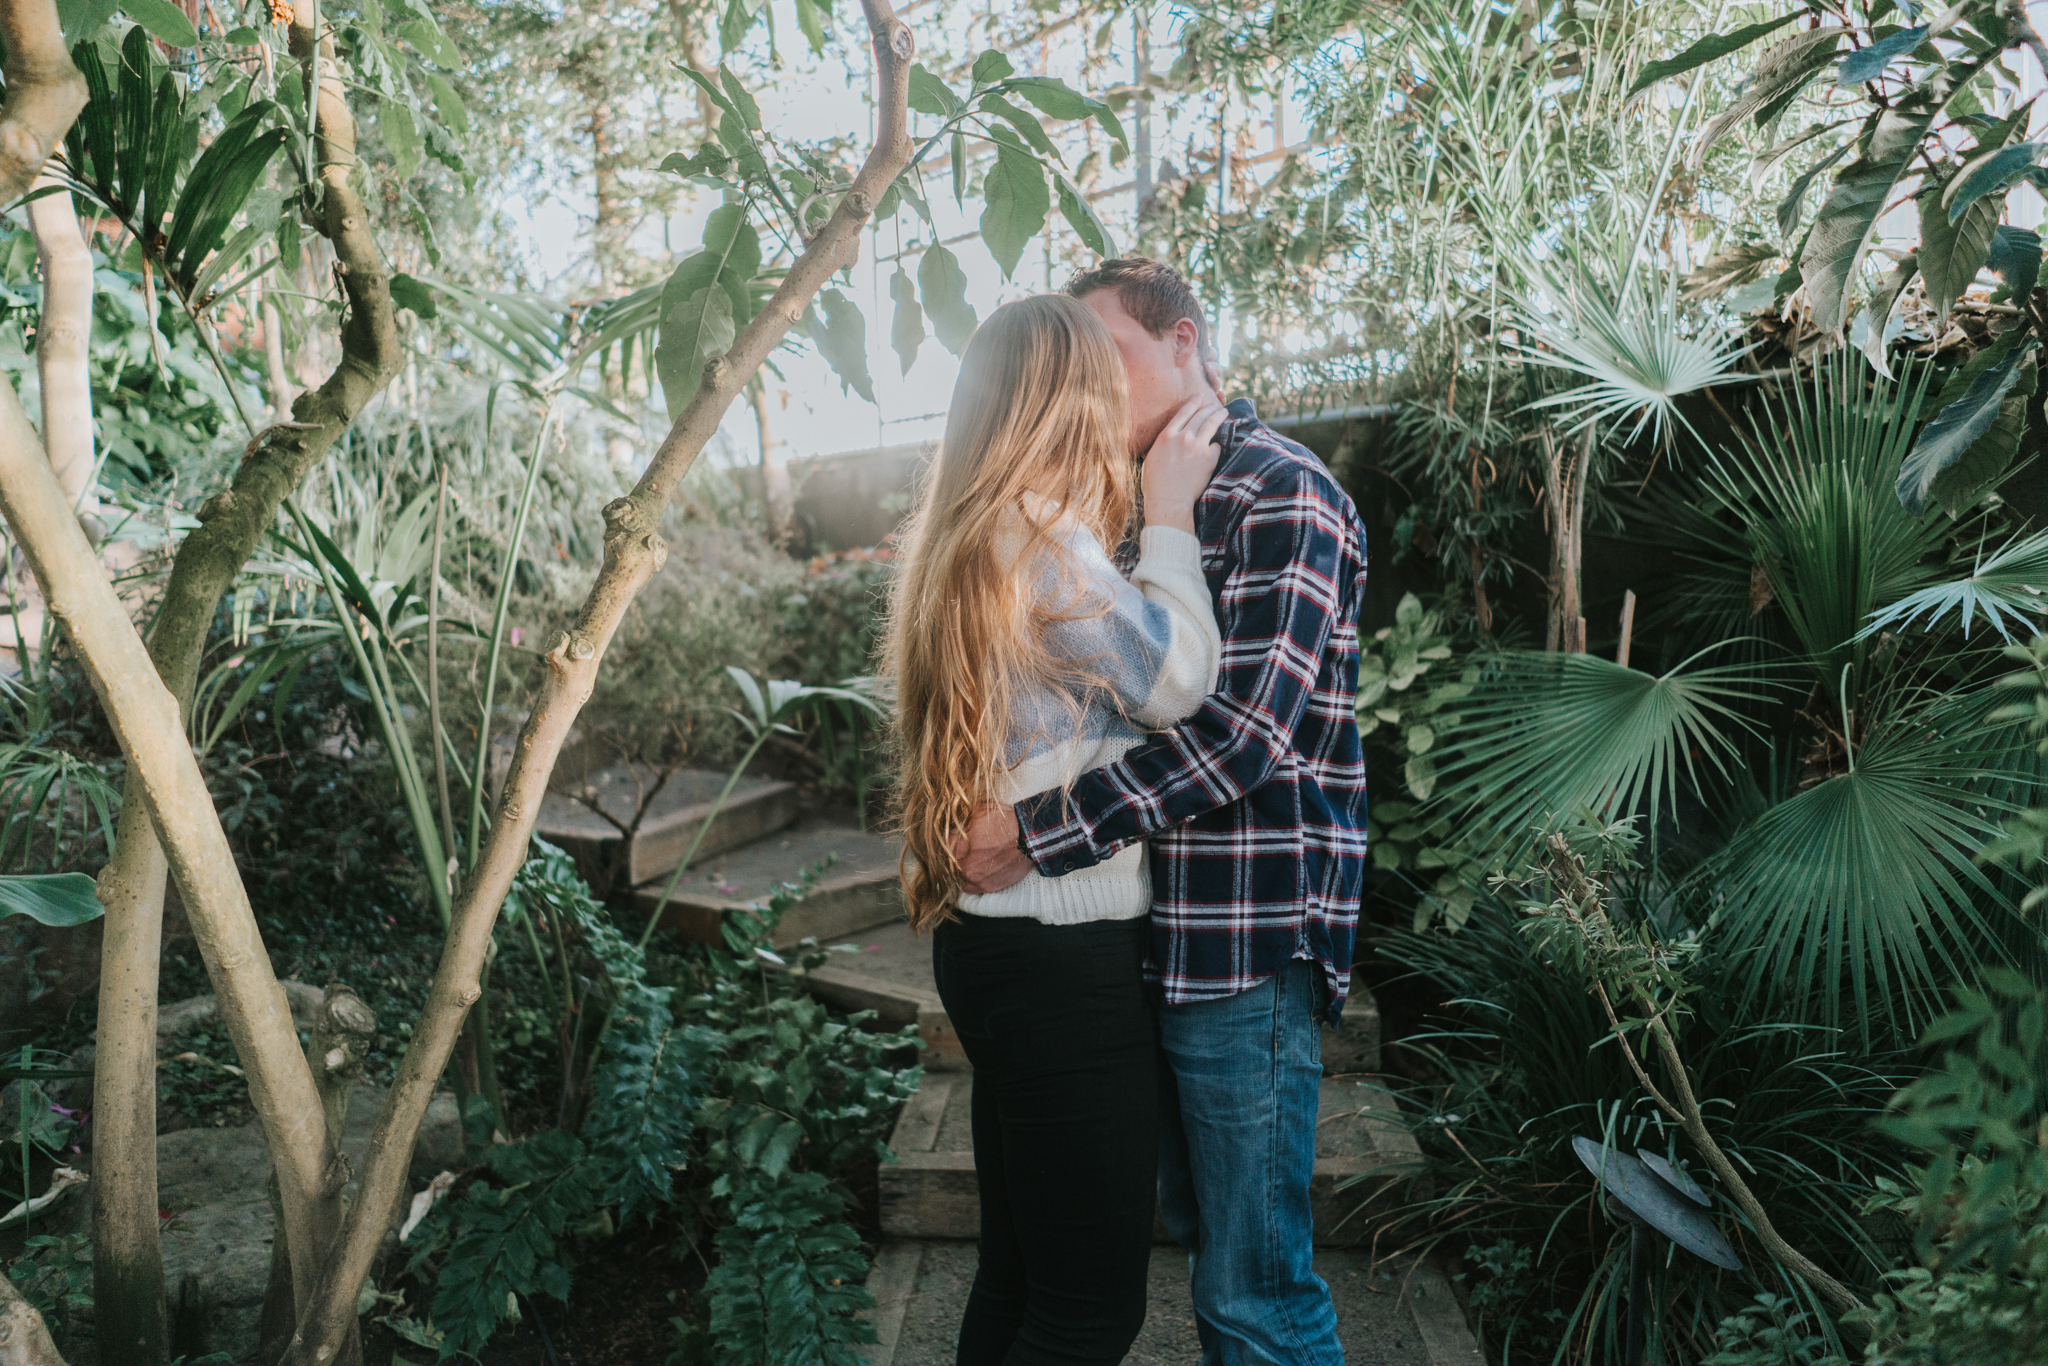
Sage Lightroom Preset Session Share with Look For The Light Photo + Video

Photographer: Look for the Light Photo Video

Located in Rexburg, Idaho

Website: www.lookforthelightphotovideo.com

Instagram: Instagram.com/lookforthelightphotovideo

Facebook: www.facebook.com/lookforthelight

Gear: Sony AR7III 28mm/f2

Preset used: Sage

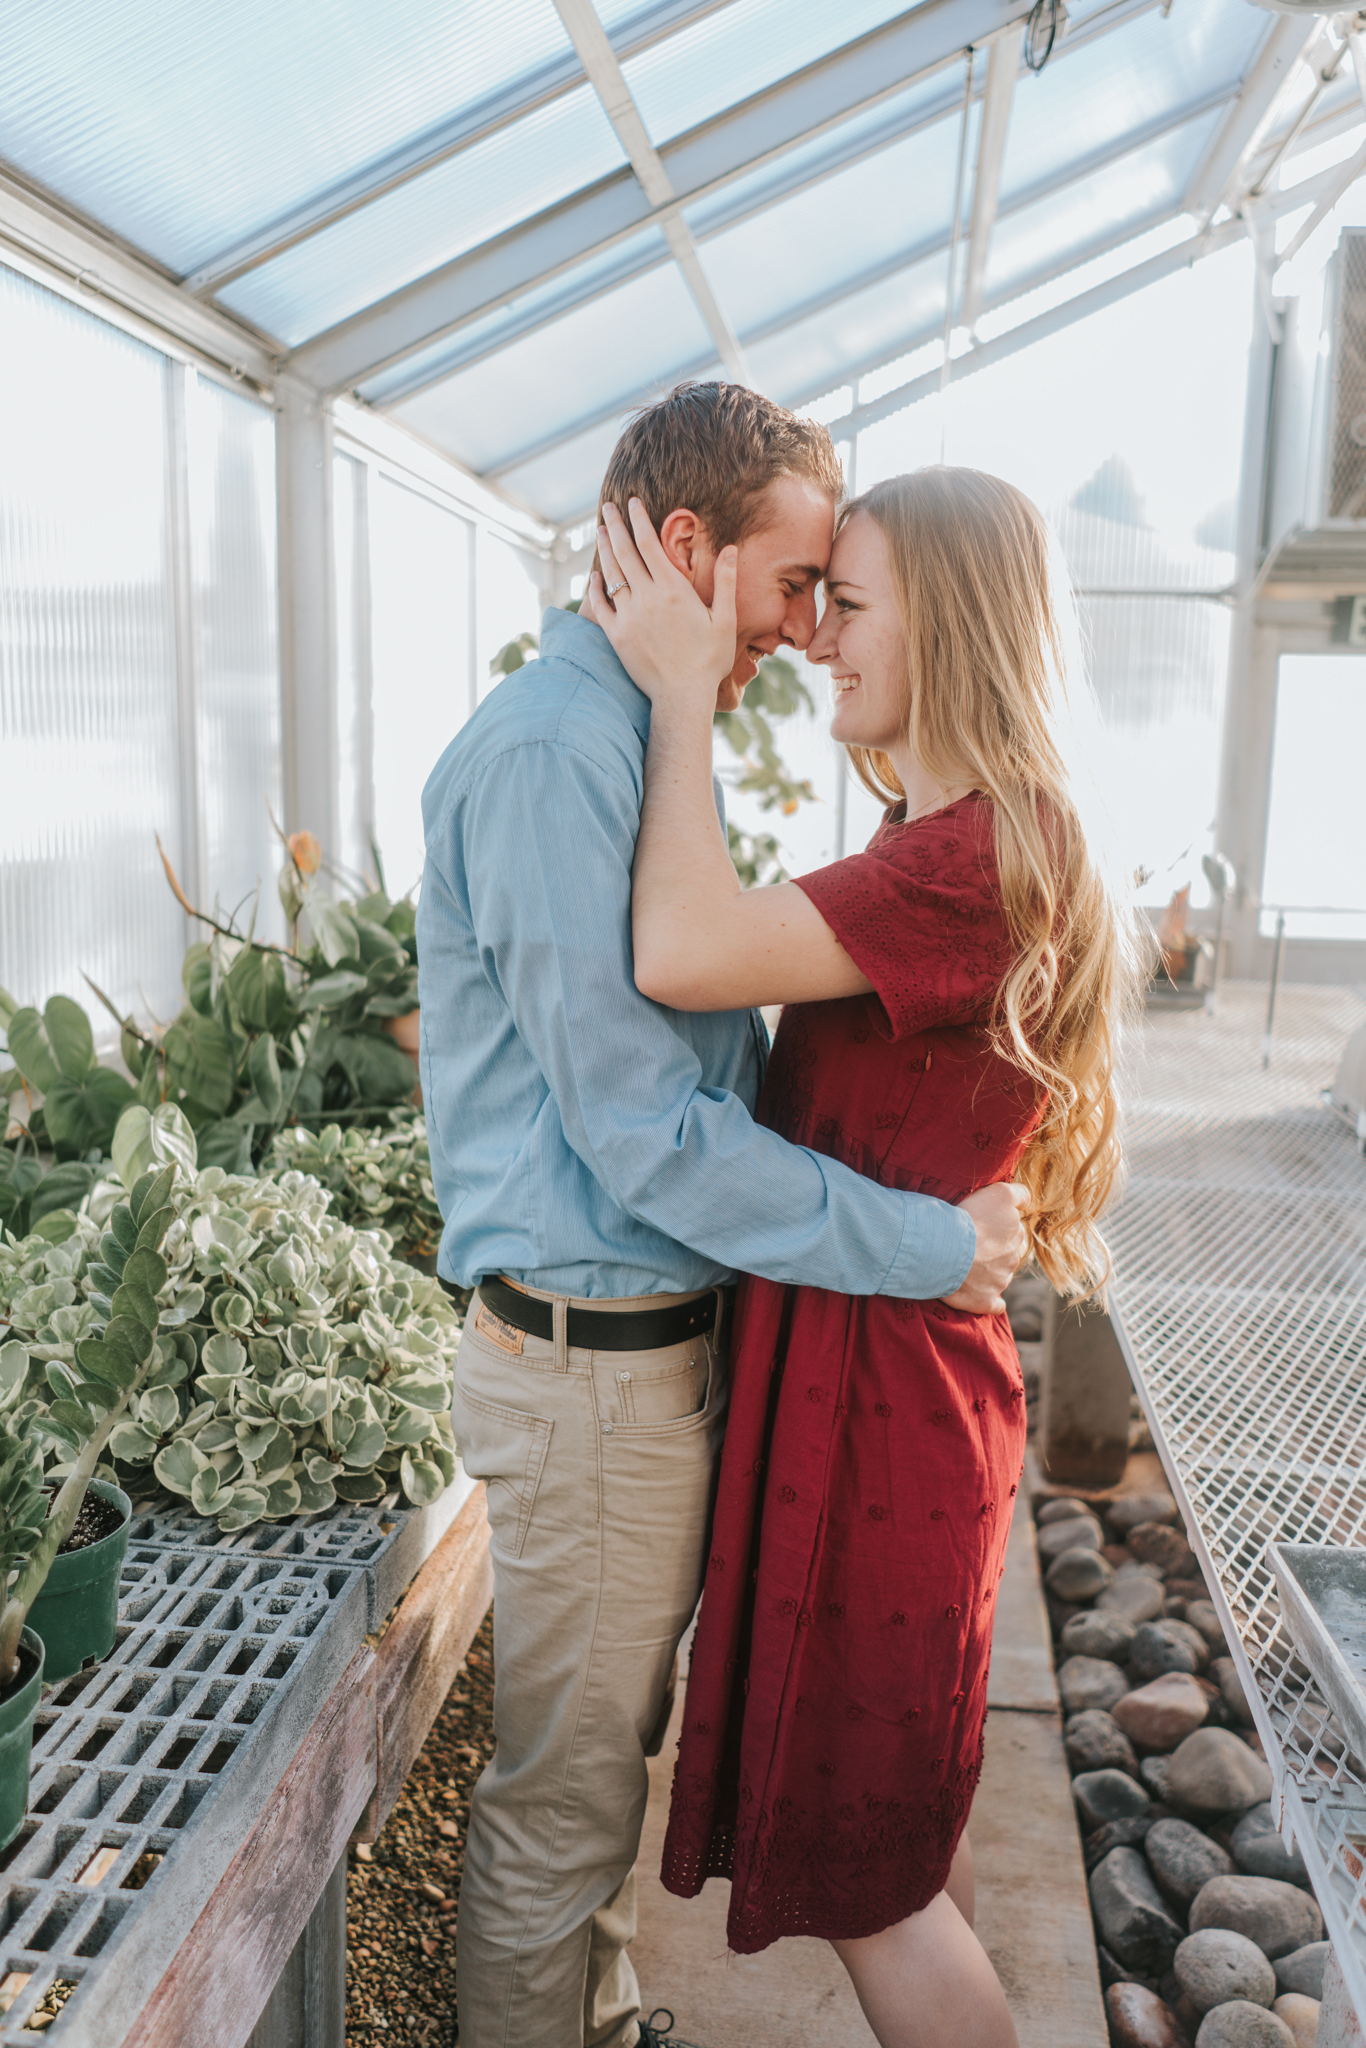
SageLookForTheLightPhoto--13.jpg
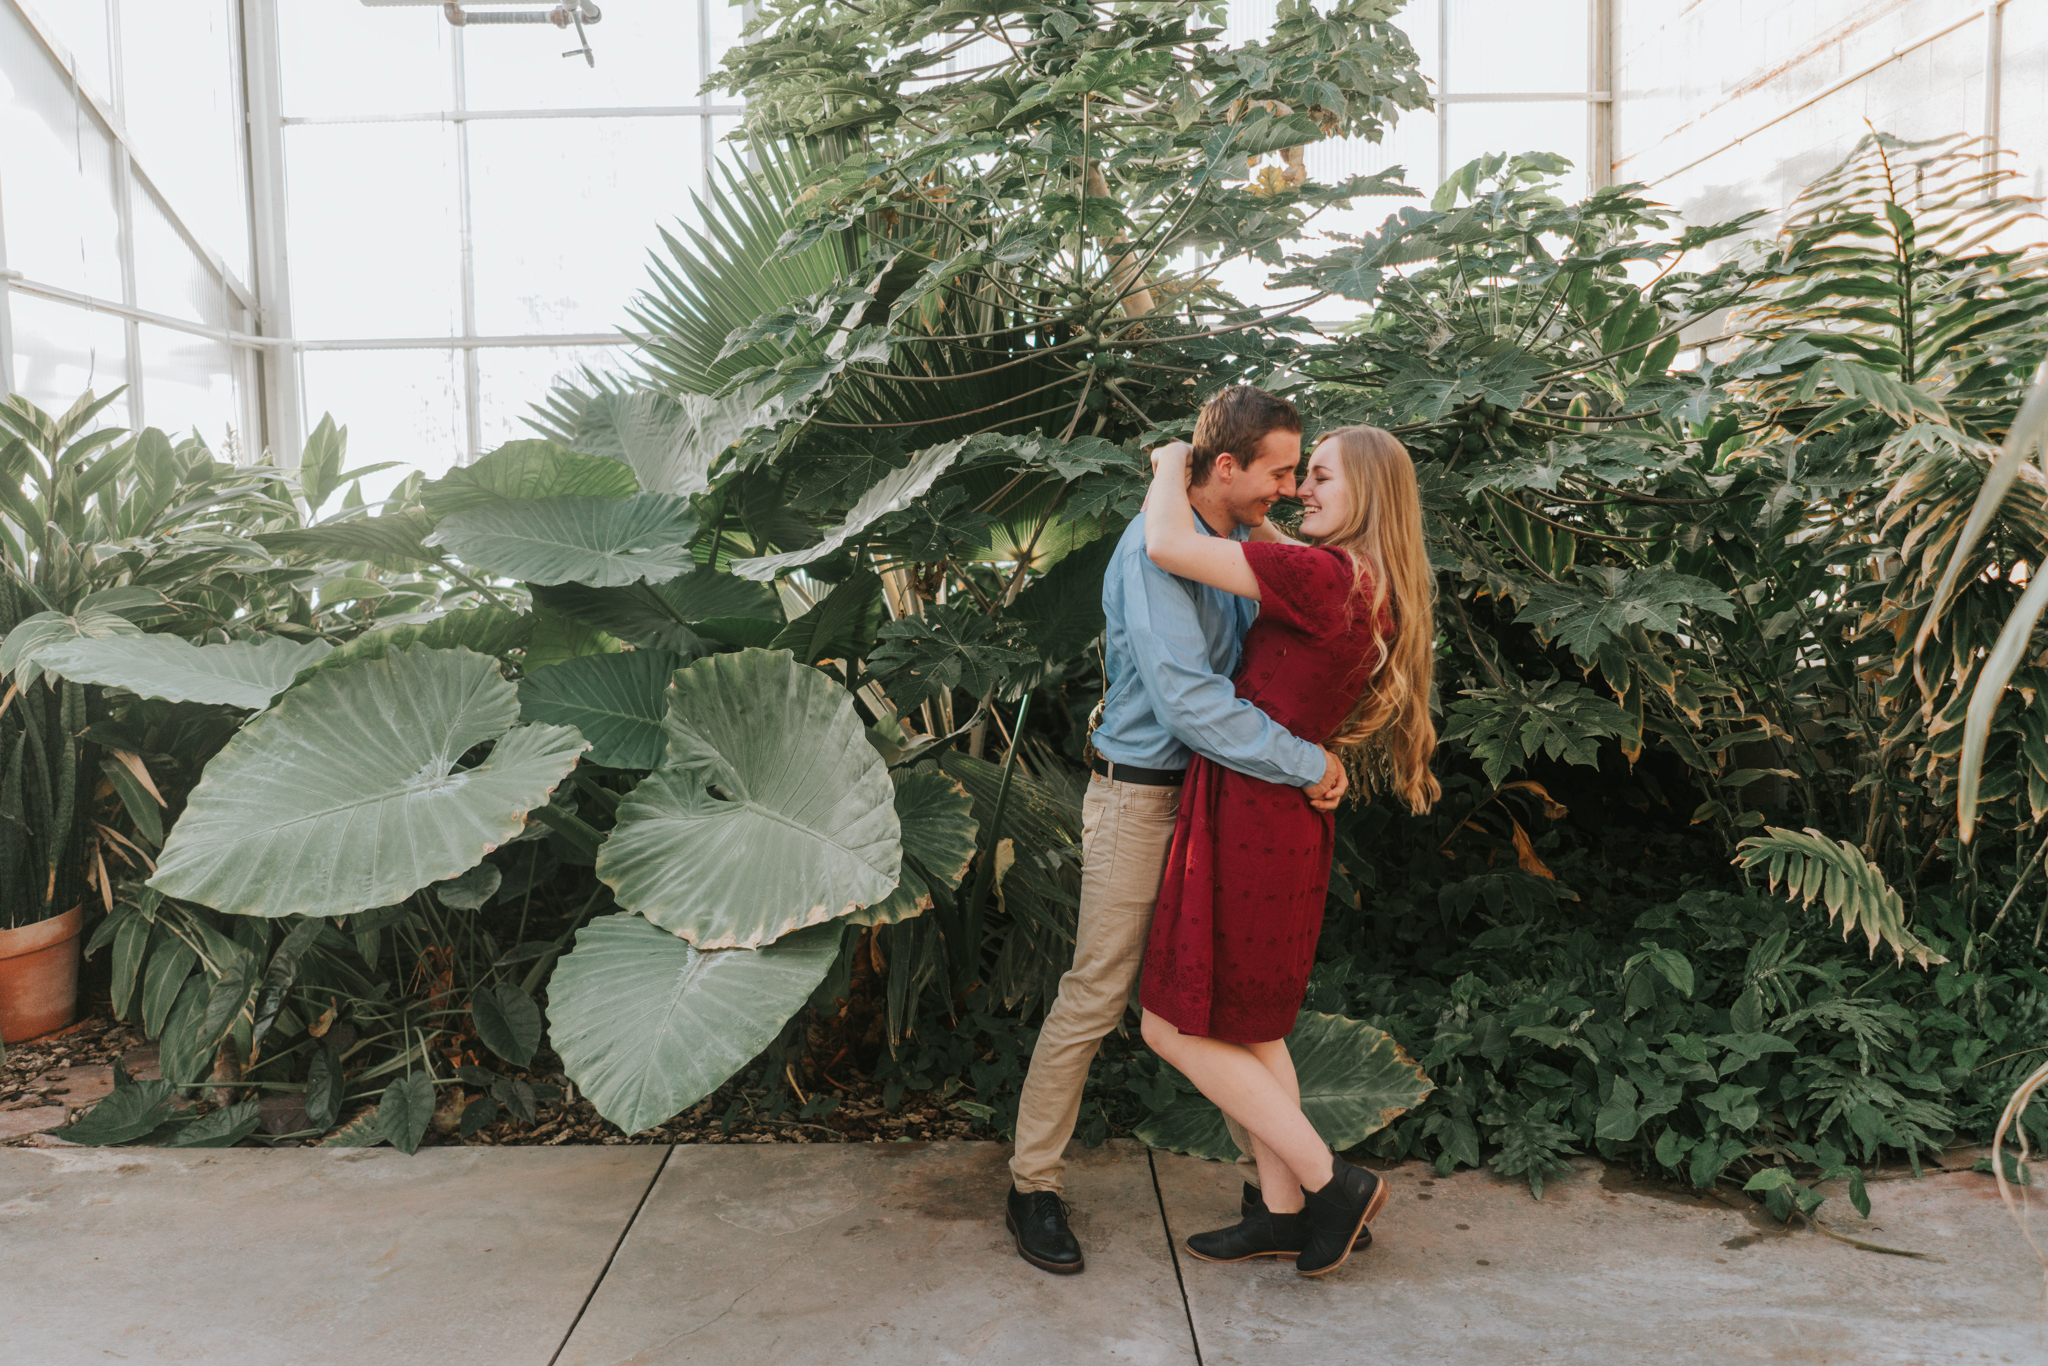
SageLookForTheLightPhoto-.jpg
SageLookForTheLightPhoto--2.jpg
SageLookForTheLightPhoto--14.jpg
SageLookForTheLightPhoto--10.jpg
SageLookForTheLightPhoto--9.jpg
SageLookForTheLightPhoto--7.jpg
SageLookForTheLightPhoto--8.jpg
SageLookForTheLightPhoto--6.jpg
SageLookForTheLightPhoto--5.jpg
SageLookForTheLightPhoto--4.jpg
SageLookForTheLightPhoto--12.jpg
SageLookForTheLightPhoto--11.jpg
SageLookForTheLightPhoto--16.jpg