Posts tagged editing presets
How To Edit Your Photos Bright and Airy in Lightroom Classic CC
howtoedityourphotosbrightandairy

Bright and Airy is a sought after style in images but not always something easy to achieve. Here is a tutorial and a video to show you how I edit my photos step by step to make them look bright and airy.

So what are the secretes to getting a bright and airy photo?

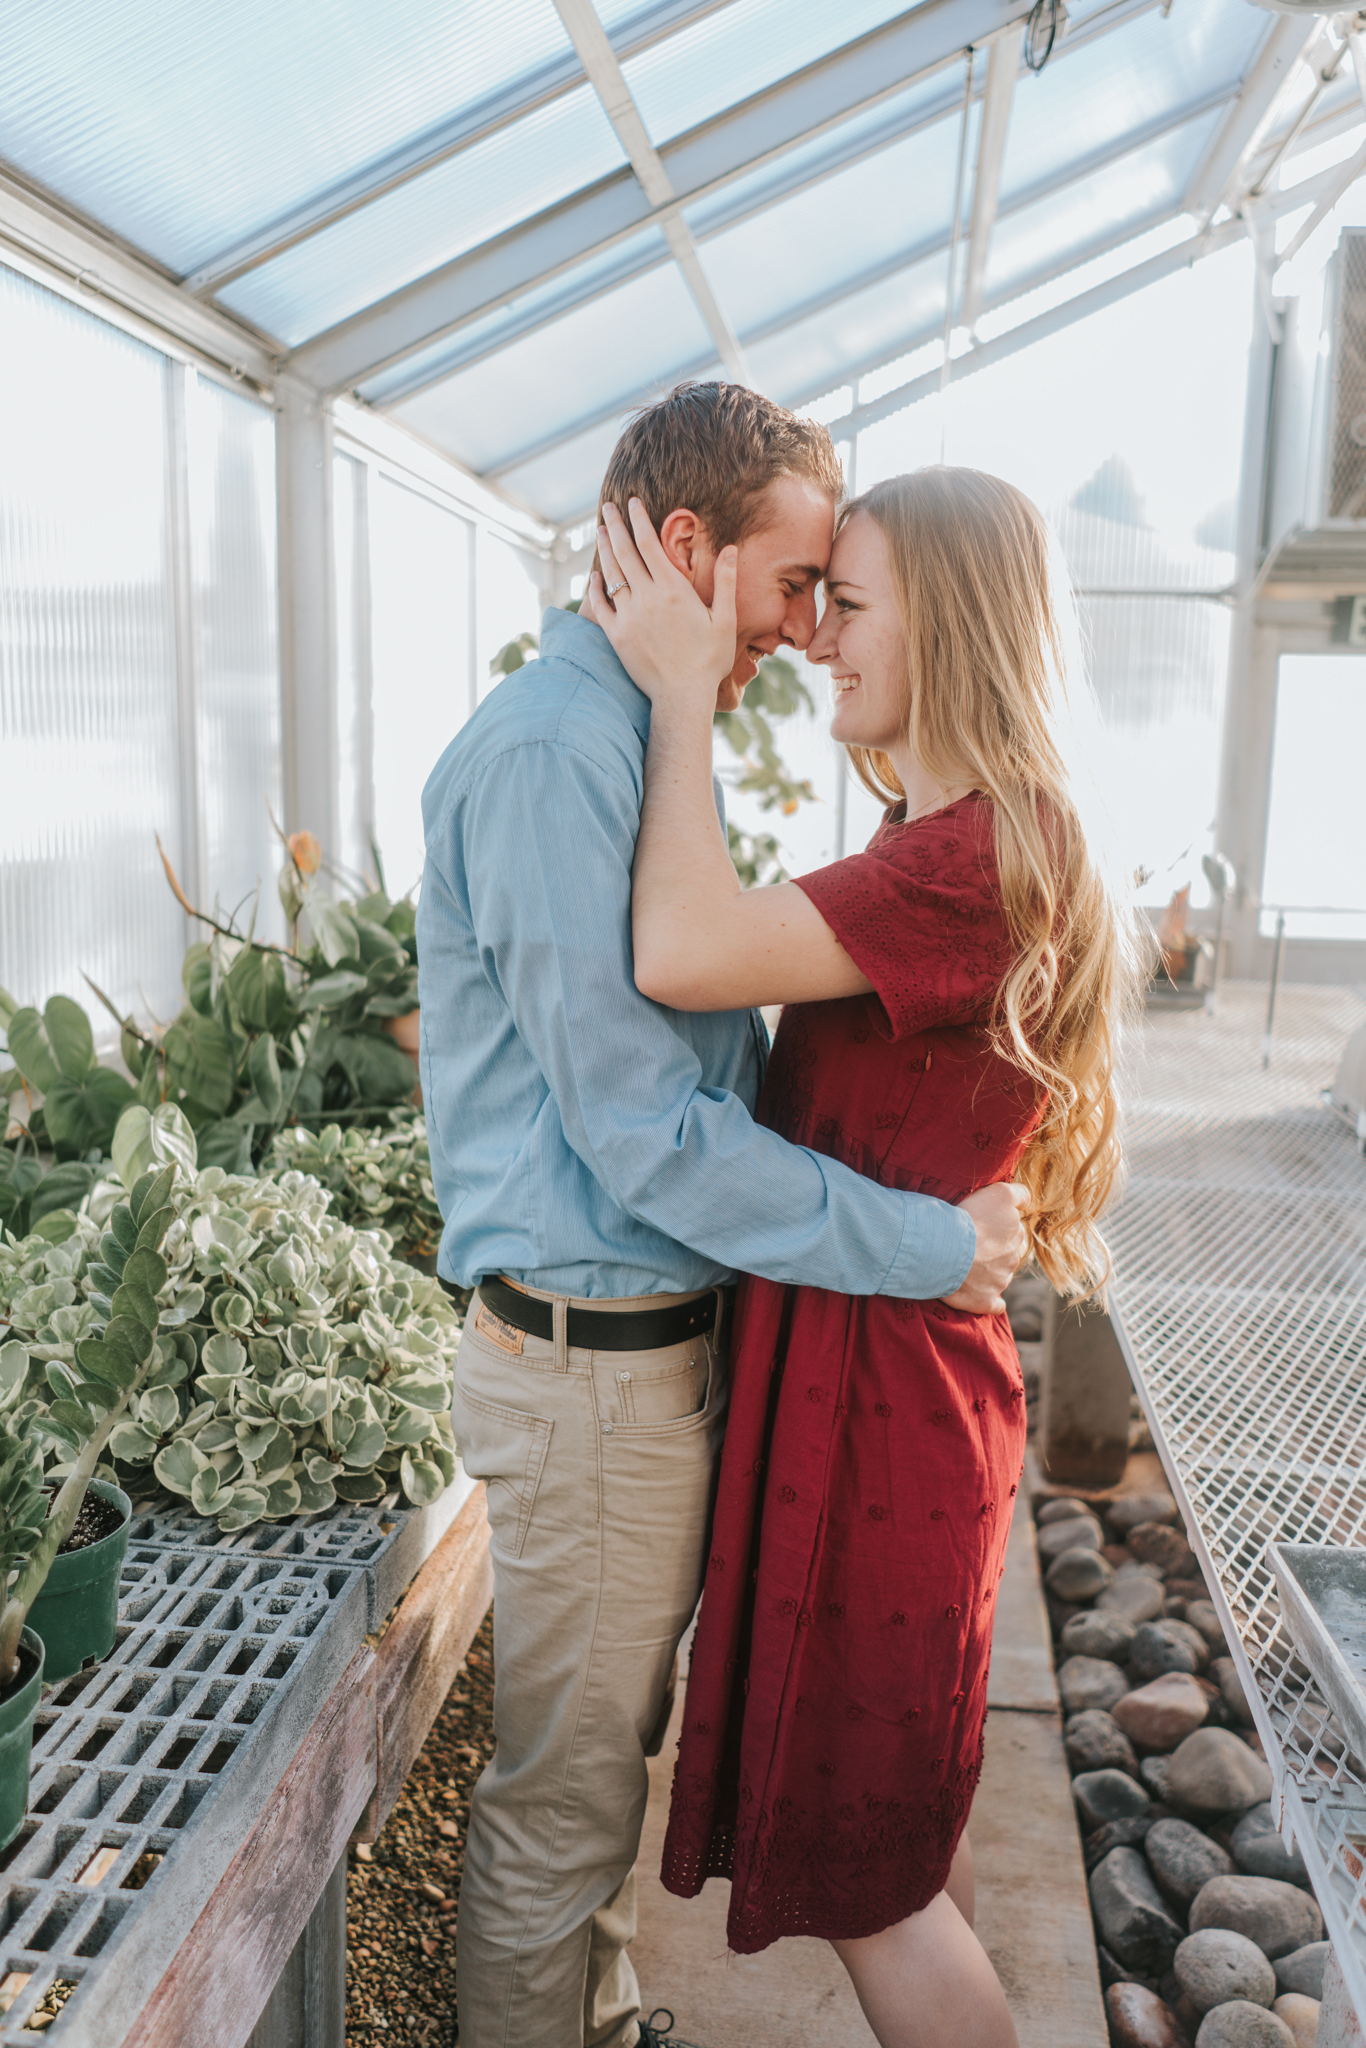
  • the most obvious one - lots of natural light

  • a neutral colored or white background in your image

  • proper white balance

  • editing techniques

Since this post is specifically about editing, we will do another blog post soon about the other steps but today we will just cover the Lightroom Classic process.

I started out with my raw images looking like this

beforekalarath

My next step was applying my “Bright and Airy” preset. (Link: https://rathphotoresources.com/bright-and-airy-lightroom-preset/ )

Screen Shot 2019-05-23 at 3.37.40 PM.png

Next, I bumped up the exposure a little bit more, added a bit of magenta, and adjusted her skin tones in the HSL panel by sliding the “Orange” sliders for saturation and luminance until I felt they looked right.

kalarathbrightandairy

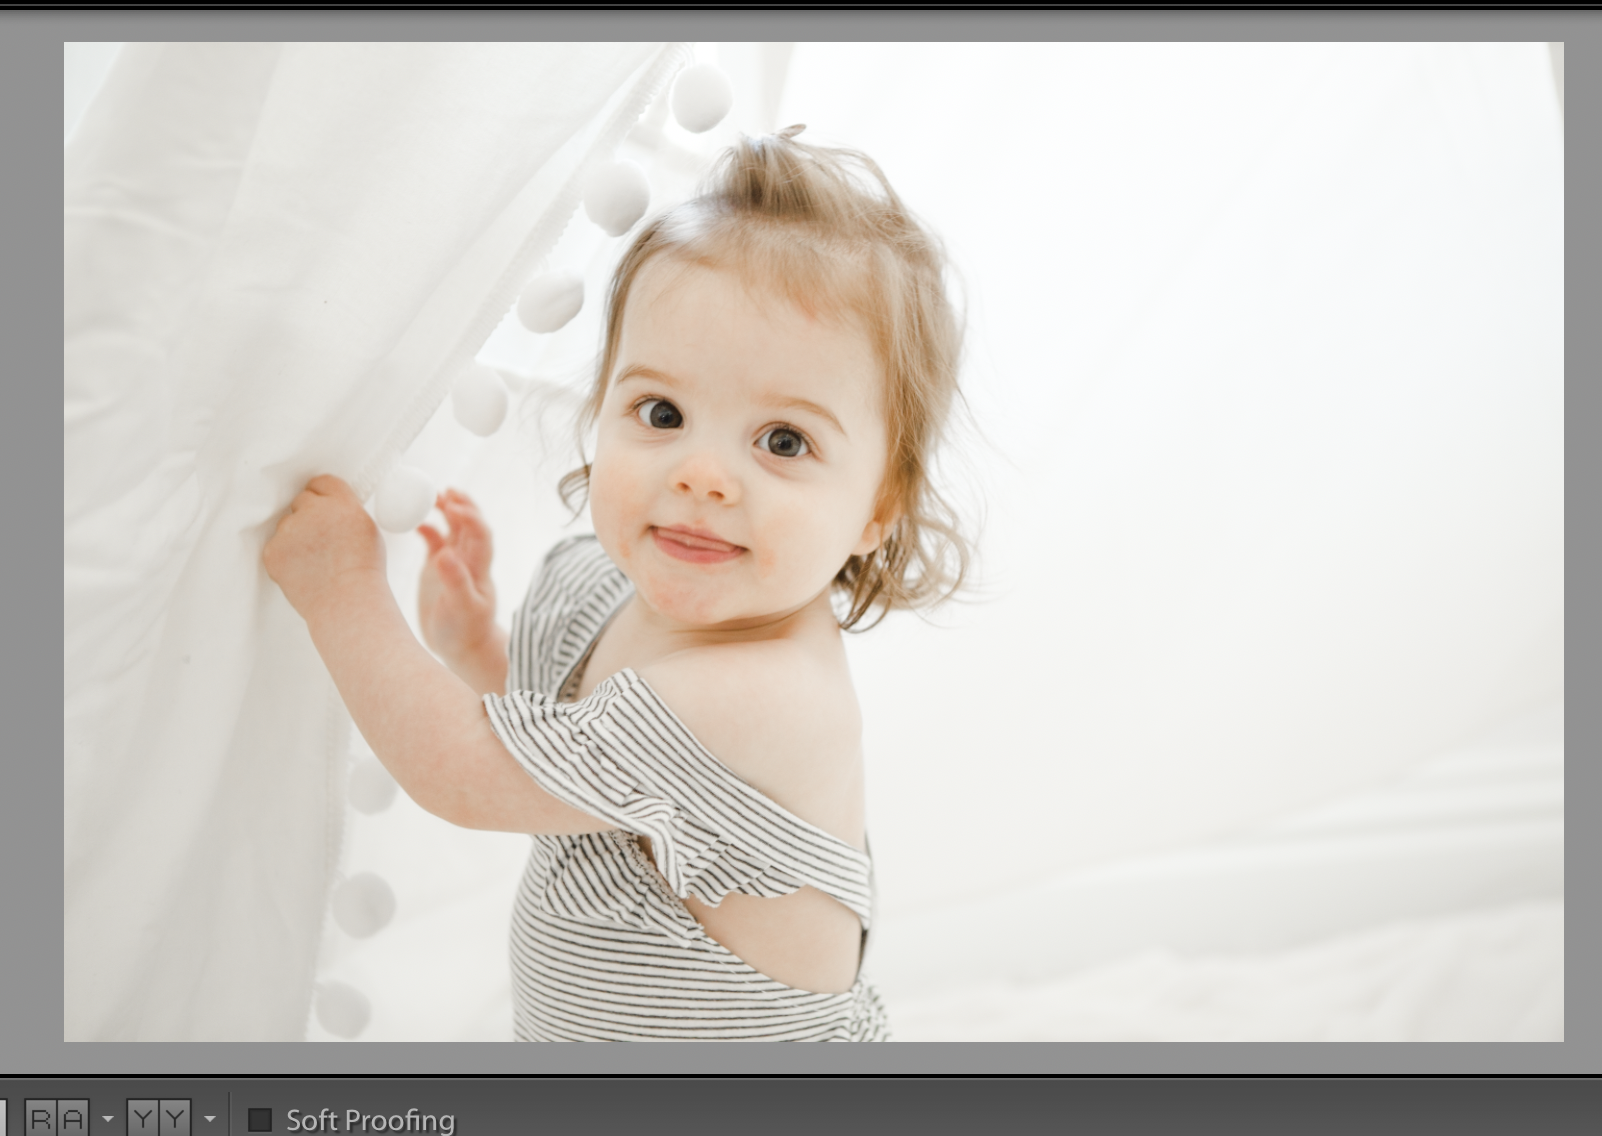
I then used the graduated filter tool in Lightroom to add in some extra light. I also used the adjustment brush to paint in a little more brightness into her eyes.

kalarathbrightandairyediting

My last and final step was to use the clone/healing tool in Lightroom to heal her chapped face.

Screen Shot 2019-05-23 at 3.46.28 PM.png

Watch the full process here:


Sage Lightroom Preset Session Share with Look For The Light Photo + Video

Photographer: Look for the Light Photo Video

Located in Rexburg, Idaho

Website: www.lookforthelightphotovideo.com

Instagram: Instagram.com/lookforthelightphotovideo

Facebook: www.facebook.com/lookforthelight

Gear: Sony AR7III 28mm/f2

Preset used: Sage

SageLookForTheLightPhoto--13.jpg
SageLookForTheLightPhoto-.jpg
SageLookForTheLightPhoto--2.jpg
SageLookForTheLightPhoto--14.jpg
SageLookForTheLightPhoto--10.jpg
SageLookForTheLightPhoto--9.jpg
SageLookForTheLightPhoto--7.jpg
SageLookForTheLightPhoto--8.jpg
SageLookForTheLightPhoto--6.jpg
SageLookForTheLightPhoto--5.jpg
SageLookForTheLightPhoto--4.jpg
SageLookForTheLightPhoto--12.jpg
SageLookForTheLightPhoto--11.jpg
SageLookForTheLightPhoto--16.jpg
How to Create a Consistent Look in Your Images
creatingconsistencyinyourphotography


Creating a consistent style with your images is an important aspect of branding yourself as a photographer. It gives your clients confidence that when they book you for a photo shoot, they know what to expect.  So how can you create consistency?

There are a lot of ways to create a consistent look to your images. One of the first things I suggest is creating a private gallery. Even if you don’t have a website you can create a secret Facebook album or even use something like Flickr. Put 50 of your best images that you feel are portfolio worthy. Then take a look at them all together and study your gallery.


What are your favorite images?

What about your least favorite?

Was is it about those that stand out to you?


Once you have evaluated your portfolio there are some other steps you can take to creating a consistent portfolio:

  • Styling your clients

  • How you use light in your images

  • Your shooting environment

  • Your editing process


How your clients dress for their photoshoot is a great place to start with created a crafted look to your portfolio. If you look at my images, you will notice most of my clients wear soft colors, long, flowy dresses or cardigans and always stay away from prints on clothing.  Don’t be afraid to assist your clients in selecting the right clothes for their sessions!

kalarathphotography6.jpg

Your use of light when shooting is a key strategy in developing a consistent look. If you love golden hour and always shoot with bright glowing sun, keep doing that! Or maybe you prefer indirect light from shooting downtown or in parks with covered trees. Whatever your style is, try to keep your light the same throughout each session if possible. Of course, there are always going to be the unexpected cloudy days that may block that golden glow and that’s okay too! Those things happen from time to time.

kalarathphotography3.jpg

Another key to consistency is your environment. For example: I love lifestyle photos with lots of white and bright! I tend to style my clients in soft neutrals (mostly white/ivory) and I always look for the lightest colored spots in their home. Sometimes that is up against kitchen cabinets or on the front porch of their home. I generally keep a white comforter or blanket in the trunk of my vehicle as well. Even if clients don’t have light colored comforters, I find several people have light colored sheets and we will take off the comforter all together for shots on the bed.

kalarathphotography4.jpg

Lastly, your editing process is critical to a consistent style. This is a great benefit to using presets. You can push a button and keep all of your tones similar only requiring minor tweaks here and there to your white balance and color adjustments if necessary.

Keep in mind, these are aren’t hard and steadfast rules. They are just simply guidelines. Don’t overthink it if all your clients show up wearing something completely out of the norm or if the weather creates a light you aren’t used to. There is nothing wrong with variety at all! These are just tools to help you develop a pattern in your branding process.