Posts tagged before and after
Lightroom Presets for Real Estate Photography - Improve your Real Estate Listing Photos with One Click

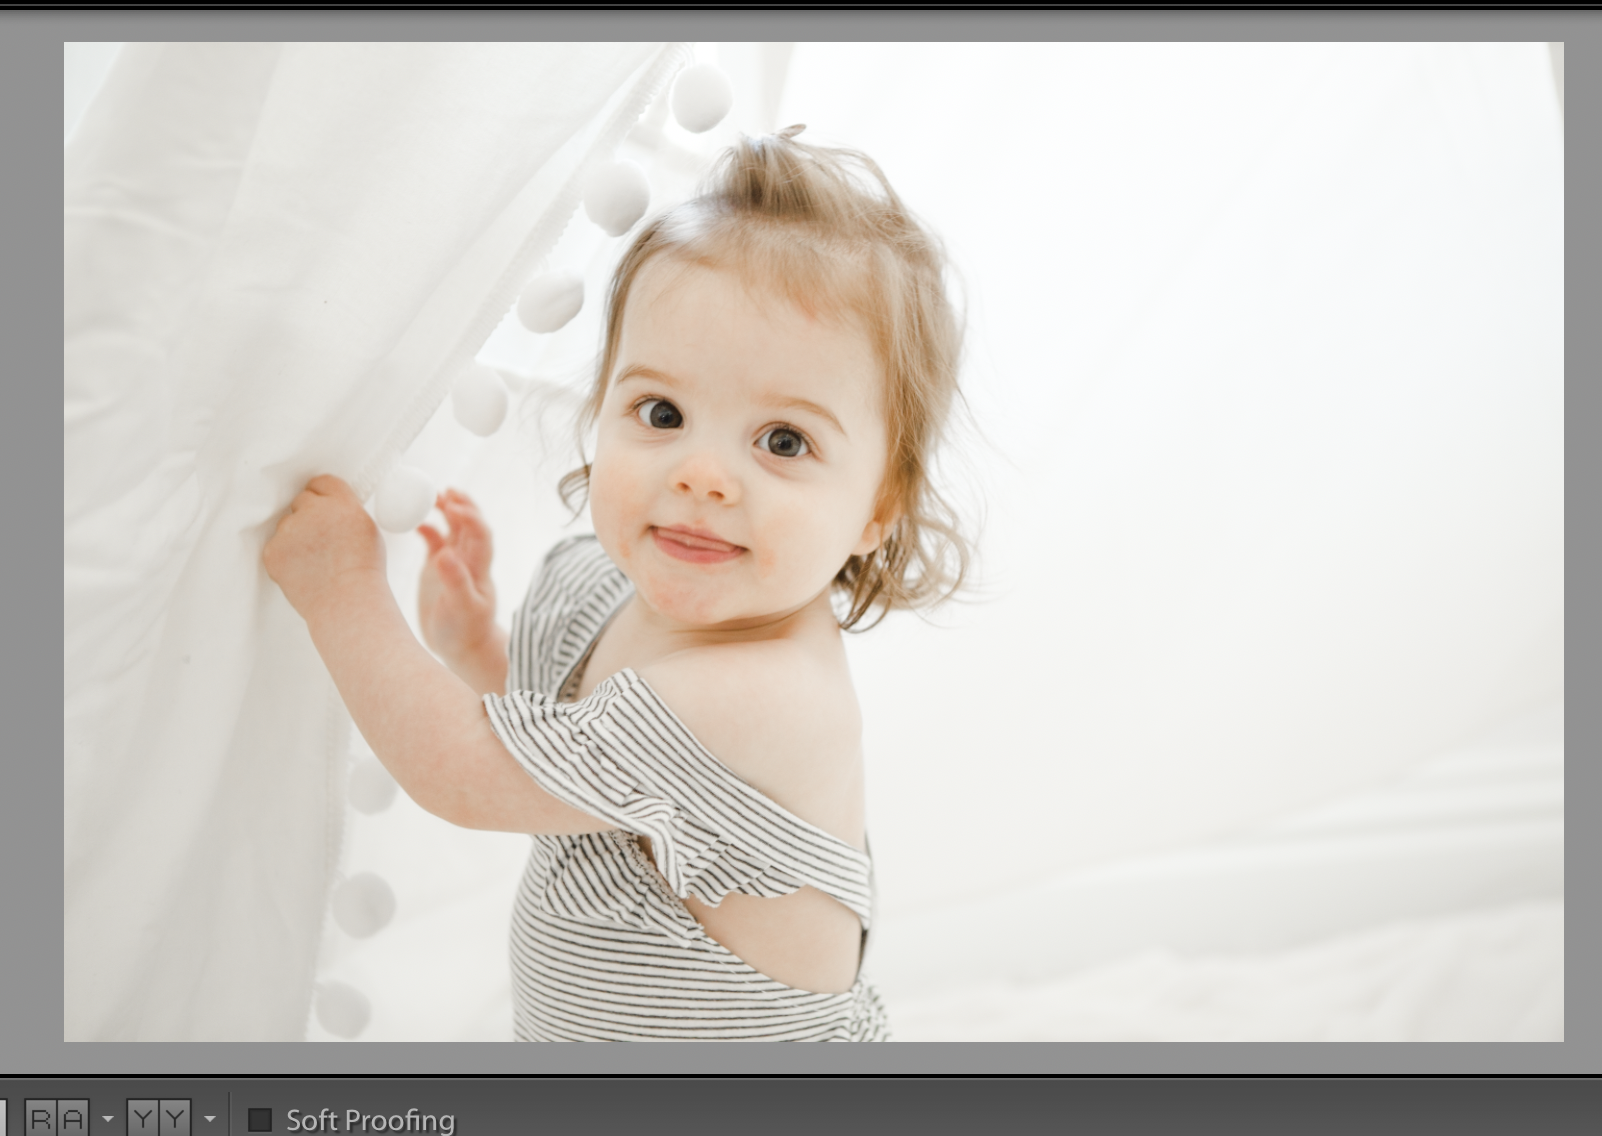
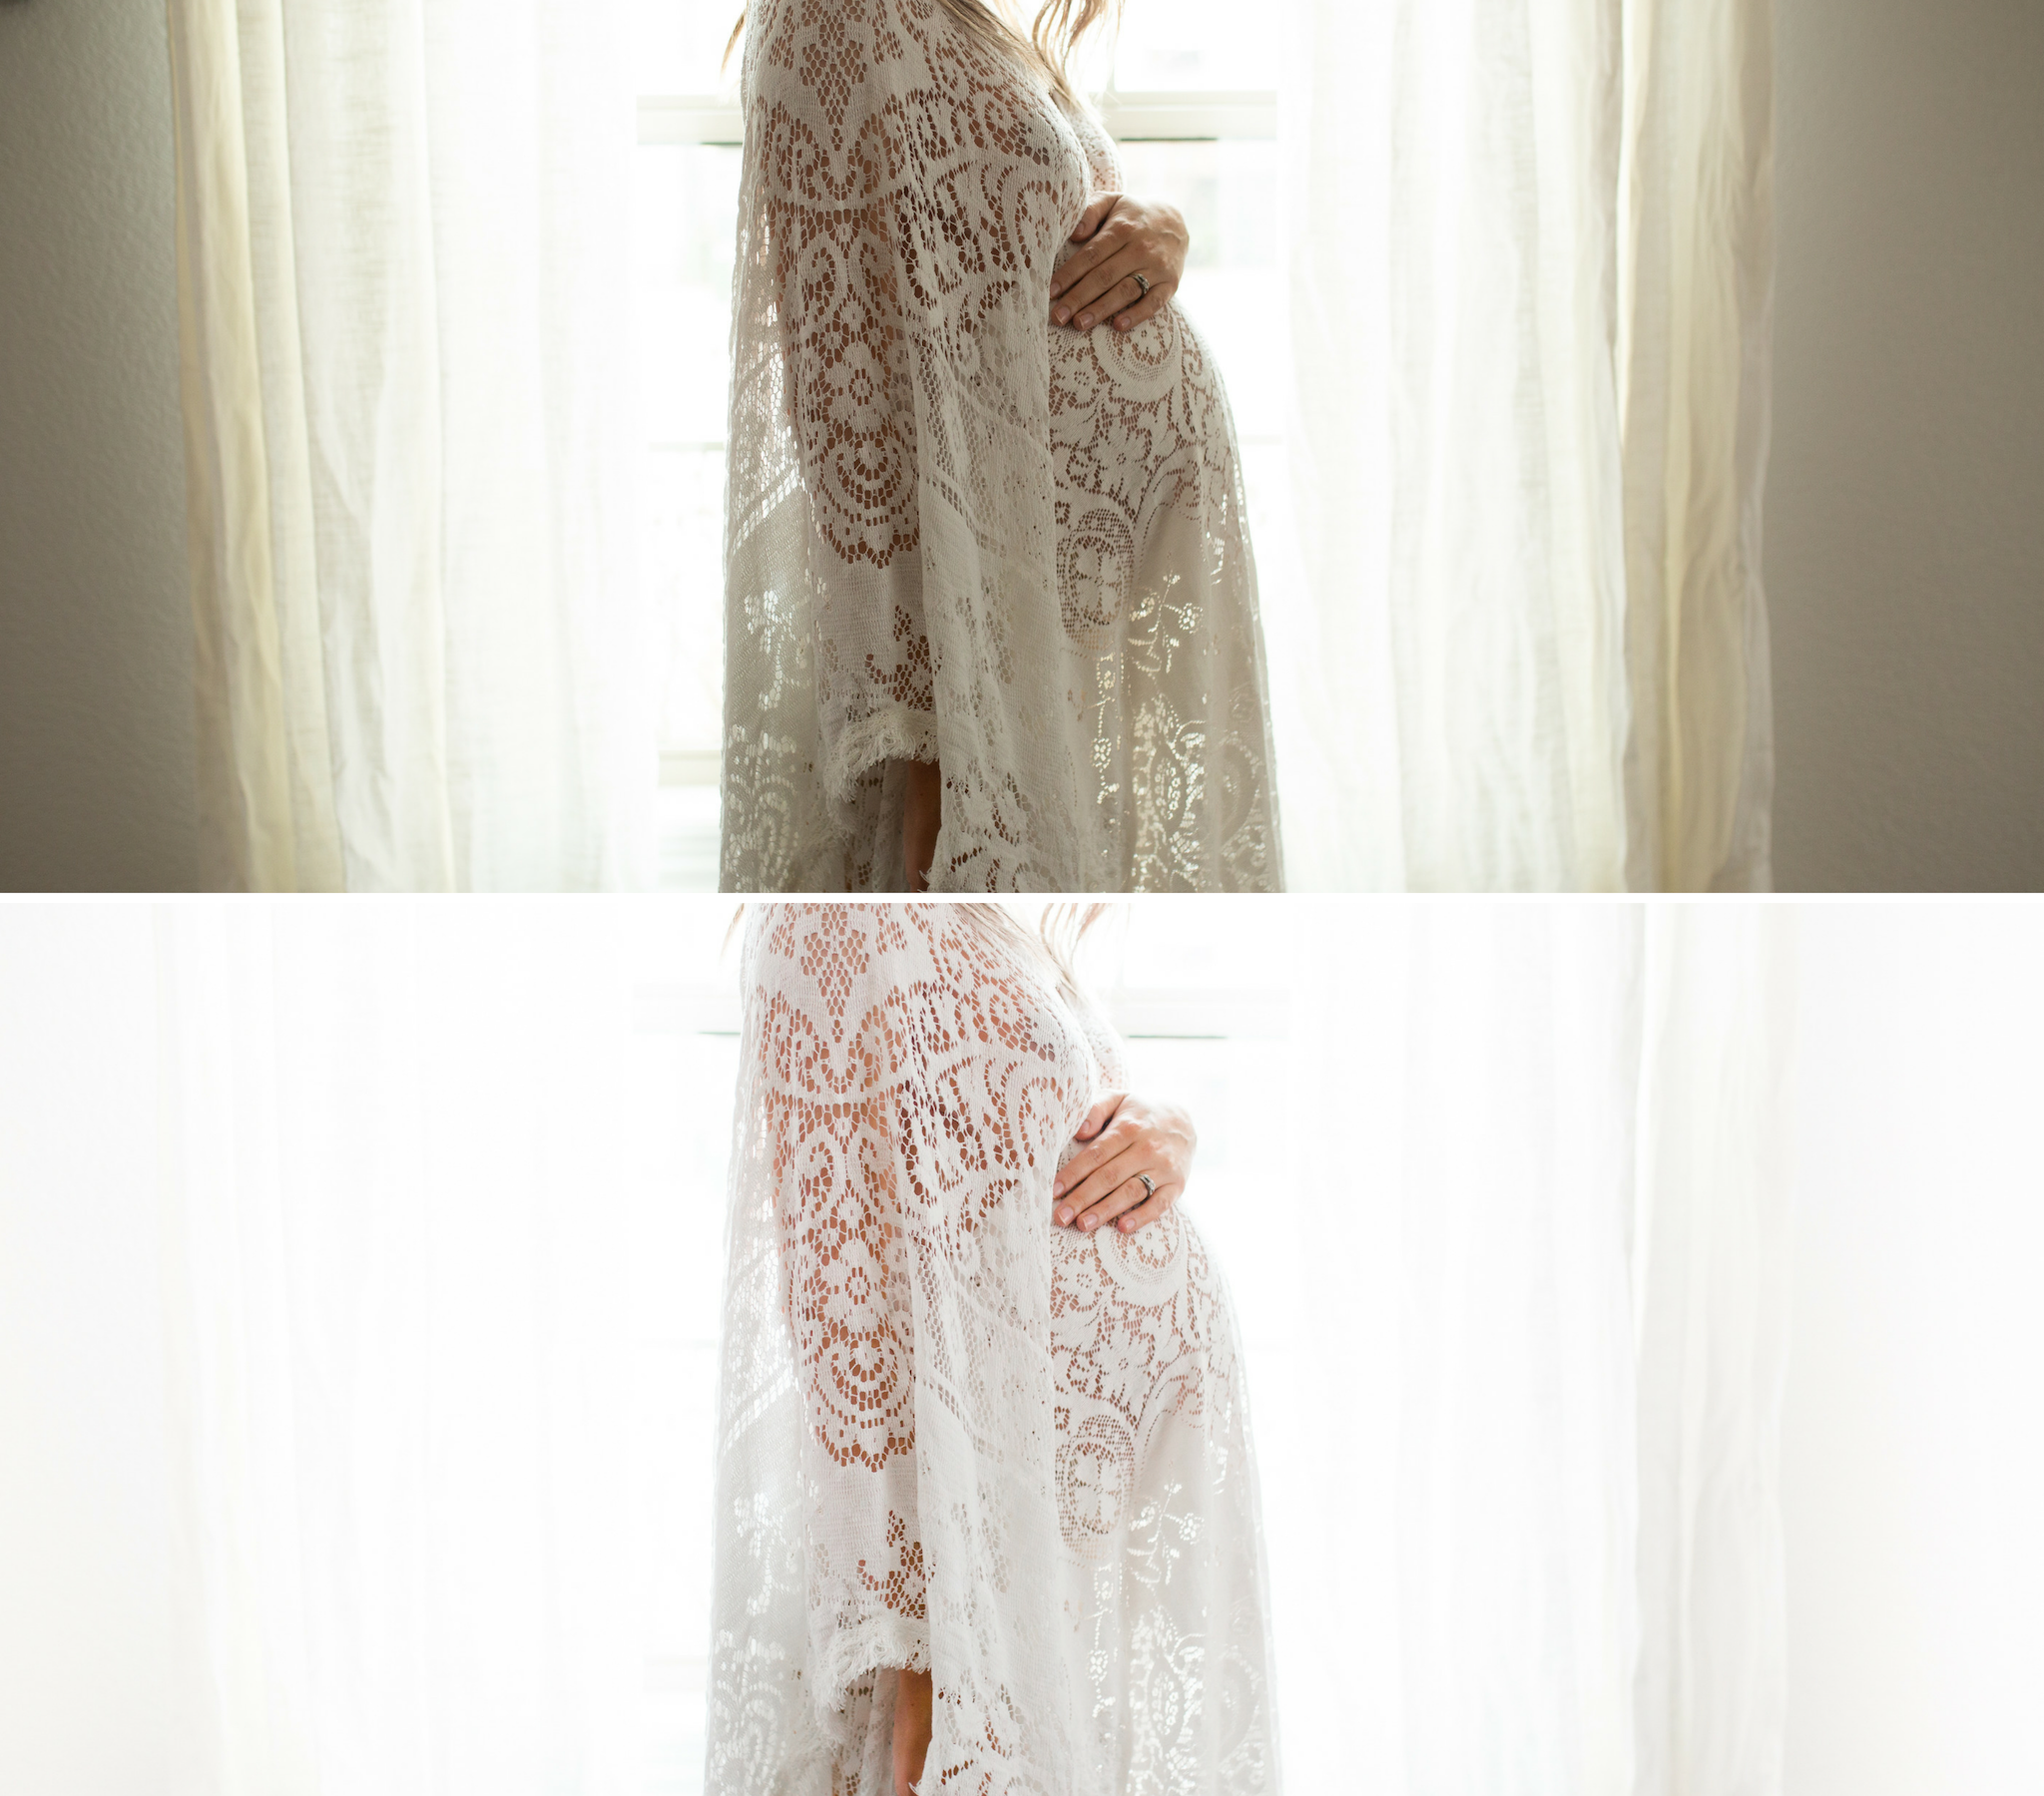
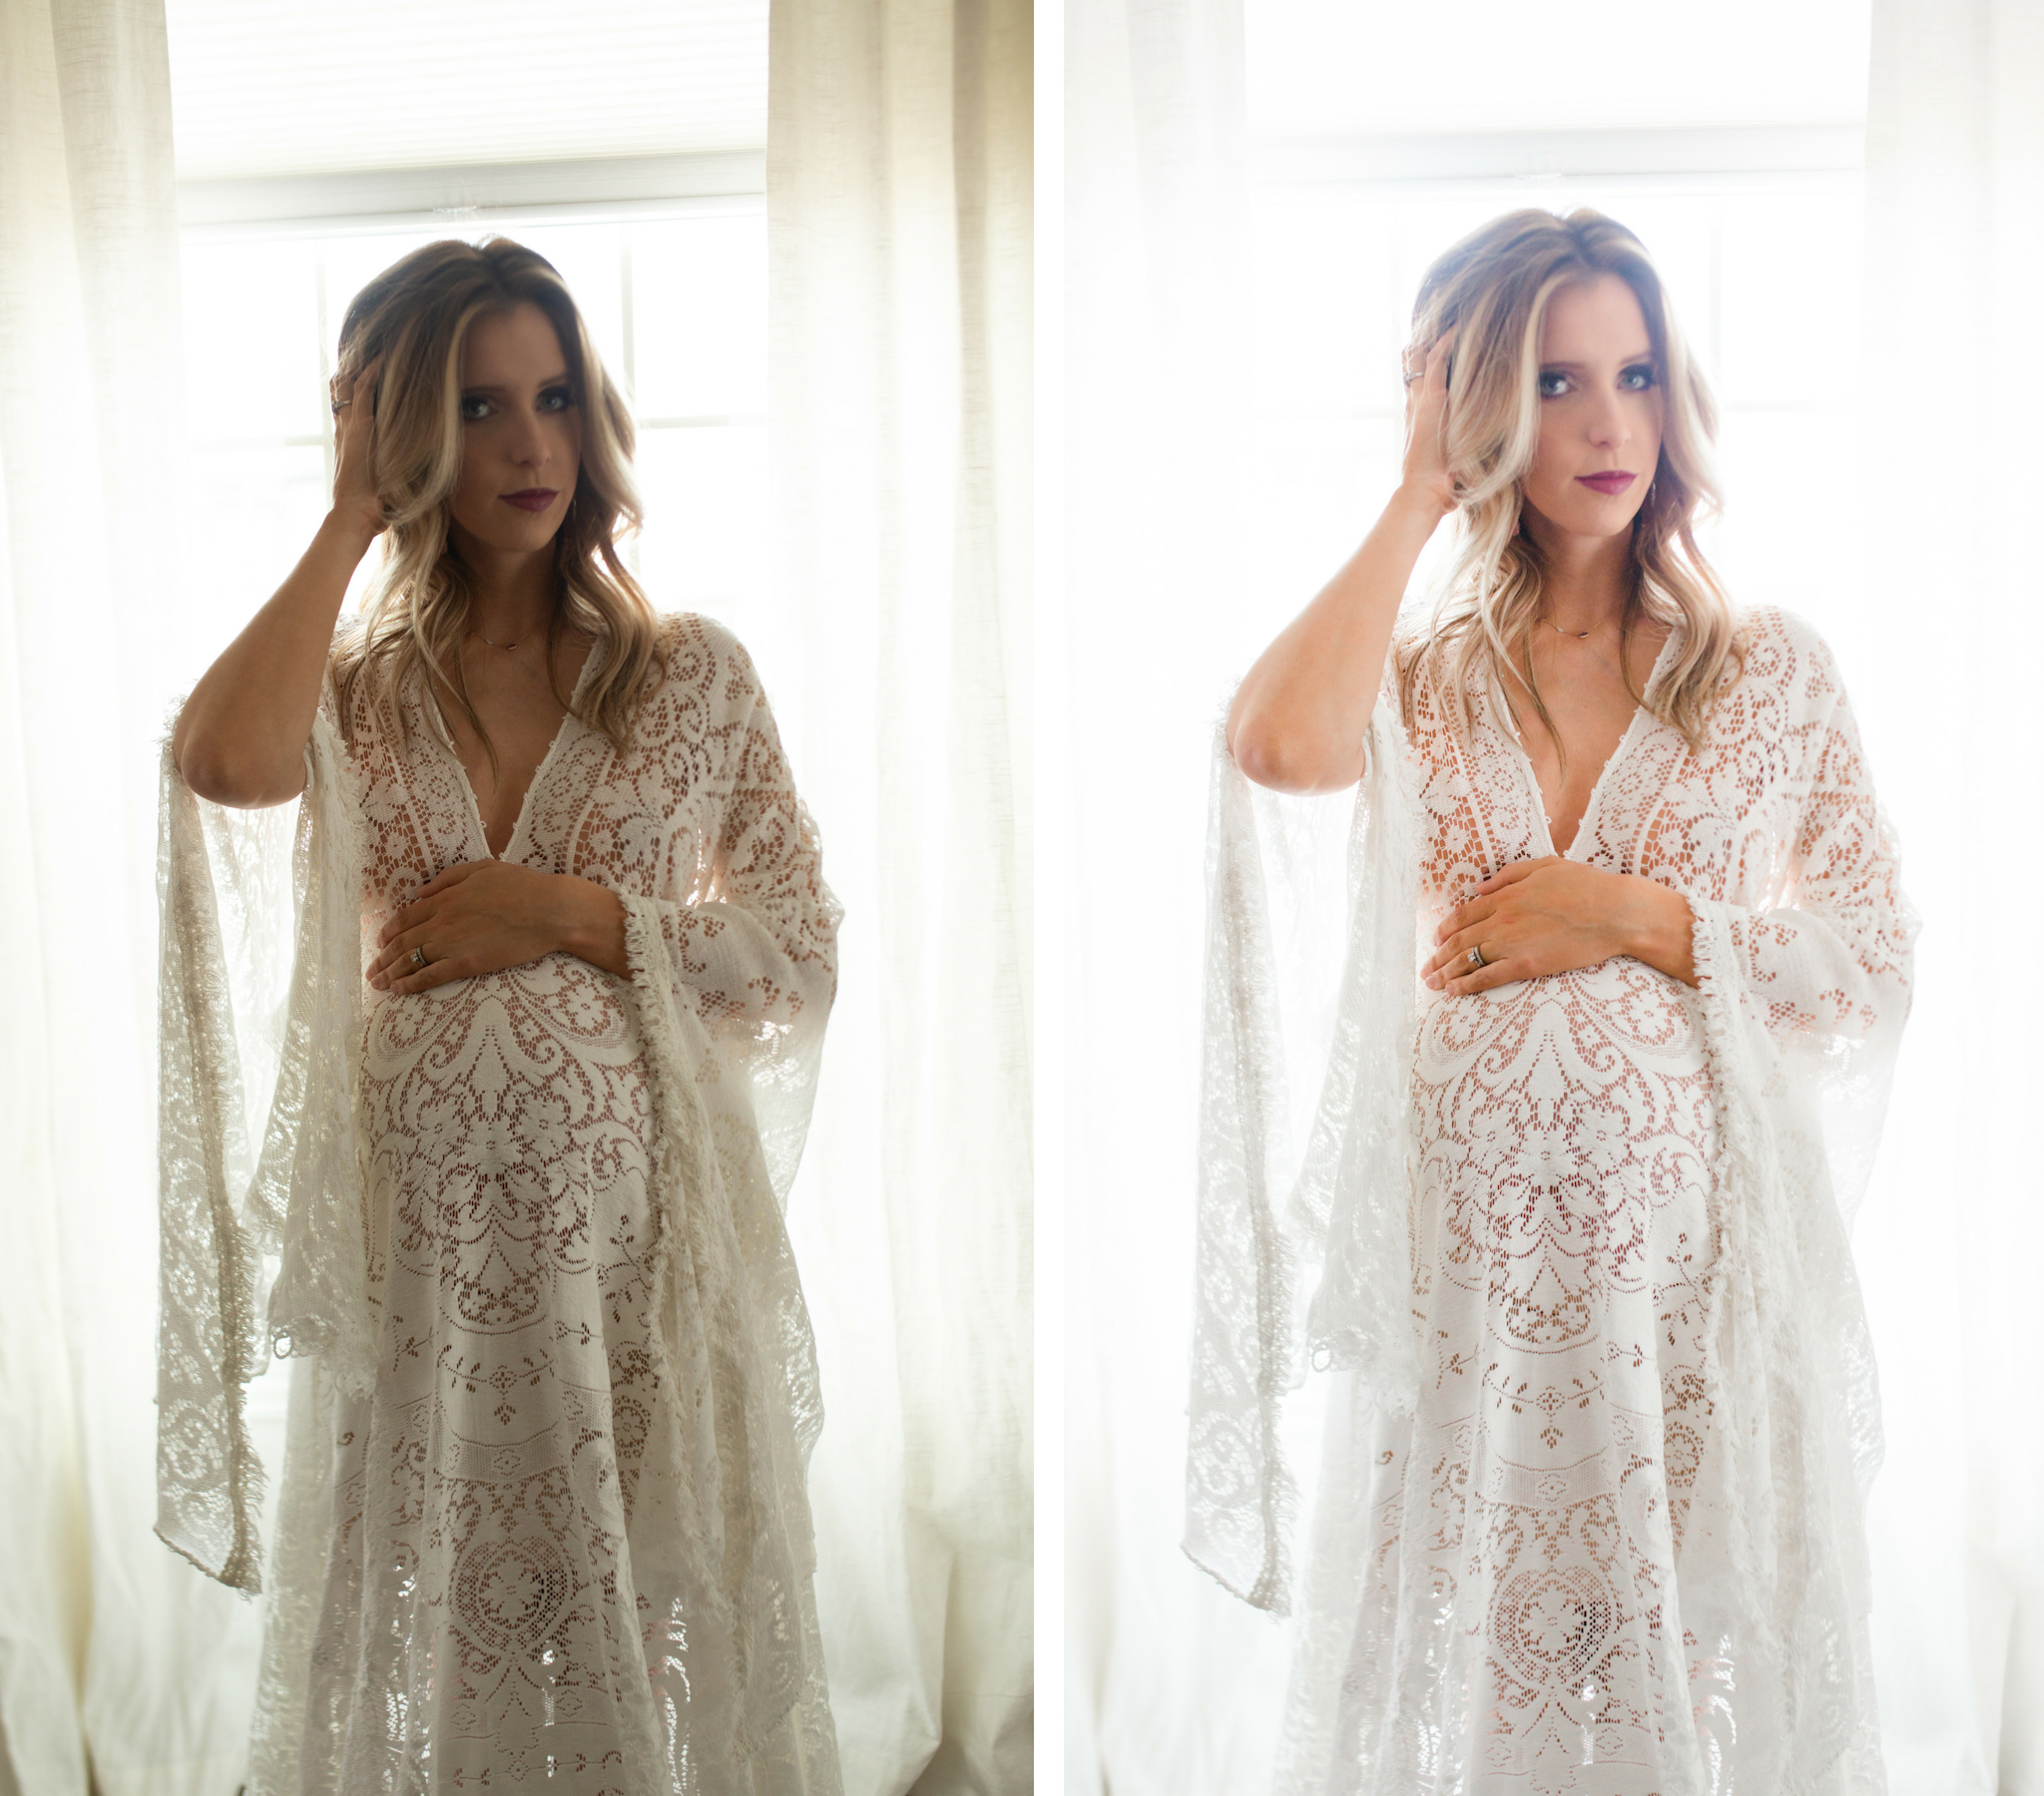
Improve your real estate listings with one simple click in Lightroom. These presets will dramatically improve your photos whether they are taken with a phone or a camera. These presets enhance the natural light while reducing color casts from lamps or fluorescent lights. This bundle also includes outdoor presets to make the sky pop, reduce shadows in porch/patio areas as well as enhance the blue color of any possible swimming areas.

real estate lightroom mobile preset.png

Included in your purchase:

16 Lightroom Presets

- Real Estate 01

- Real Estate 02

- Real Estate 03

- Real Estate 04

- Real Estate 05

- Real Estate 06

- Outside 01

- Outside 02

- Outside 03

- Outside 04

- Outside 05

- Outside 06

- Patio/Pool 01

-Patio/Pool 02

- Patio/Pool 03

Installation instructions

Access to private Facebook group

REAL ESATE BEFORE AND AFTER.png
REAL ESATE BEFORE AND AFTER copy.png
real estate before and after 03.png
real estate before and after 01.jpg
REAL ESATE BEFORE AND AFTER 03.png
How To Edit Your Photos Bright and Airy in Lightroom Classic CC
howtoedityourphotosbrightandairy

Bright and Airy is a sought after style in images but not always something easy to achieve. Here is a tutorial and a video to show you how I edit my photos step by step to make them look bright and airy.

So what are the secretes to getting a bright and airy photo?

  • the most obvious one - lots of natural light

  • a neutral colored or white background in your image

  • proper white balance

  • editing techniques

Since this post is specifically about editing, we will do another blog post soon about the other steps but today we will just cover the Lightroom Classic process.

I started out with my raw images looking like this

beforekalarath

My next step was applying my “Bright and Airy” preset. (Link: https://rathphotoresources.com/bright-and-airy-lightroom-preset/ )

Screen Shot 2019-05-23 at 3.37.40 PM.png

Next, I bumped up the exposure a little bit more, added a bit of magenta, and adjusted her skin tones in the HSL panel by sliding the “Orange” sliders for saturation and luminance until I felt they looked right.

kalarathbrightandairy

I then used the graduated filter tool in Lightroom to add in some extra light. I also used the adjustment brush to paint in a little more brightness into her eyes.

kalarathbrightandairyediting

My last and final step was to use the clone/healing tool in Lightroom to heal her chapped face.

Screen Shot 2019-05-23 at 3.46.28 PM.png

Watch the full process here:


Before & after lifestyle maternity session

Photographer: Kala Rath

Located in Fayetteville, Arkansas.

Instagram: www.instagram.com/kalarathphotography

Facebook: www.facebook.com/kalarathphotography

Gear: Canon 5D Mark III, Sigma Art 35mm

Preset used: Bright and Airy

1/100 | f2.2 | ISO800

1/100 | f2.2 | ISO800

1/100 | f2.2 | ISO800

1/100 | f2.2 | ISO800

1/80 | f2.5 | ISO800

1/80 | f2.5 | ISO800

1/100 | f2.8 | ISO500

1/100 | f2.8 | ISO500

1/80 | f2.5 | ISO800

1/80 | f2.5 | ISO800